
Create banners using AI image generation. Discuss format/style, generate variations, iterate with user feedback, crop to target ratio for GitHub, Twitter, LinkedIn, etc.
GEMINI_API_KEYaistudio.google.com/apikey Depends on: nanobanana
bannerheaderhero imagecover imagecreate bannergithub bannertwitter headerreadme banner
Quick Install
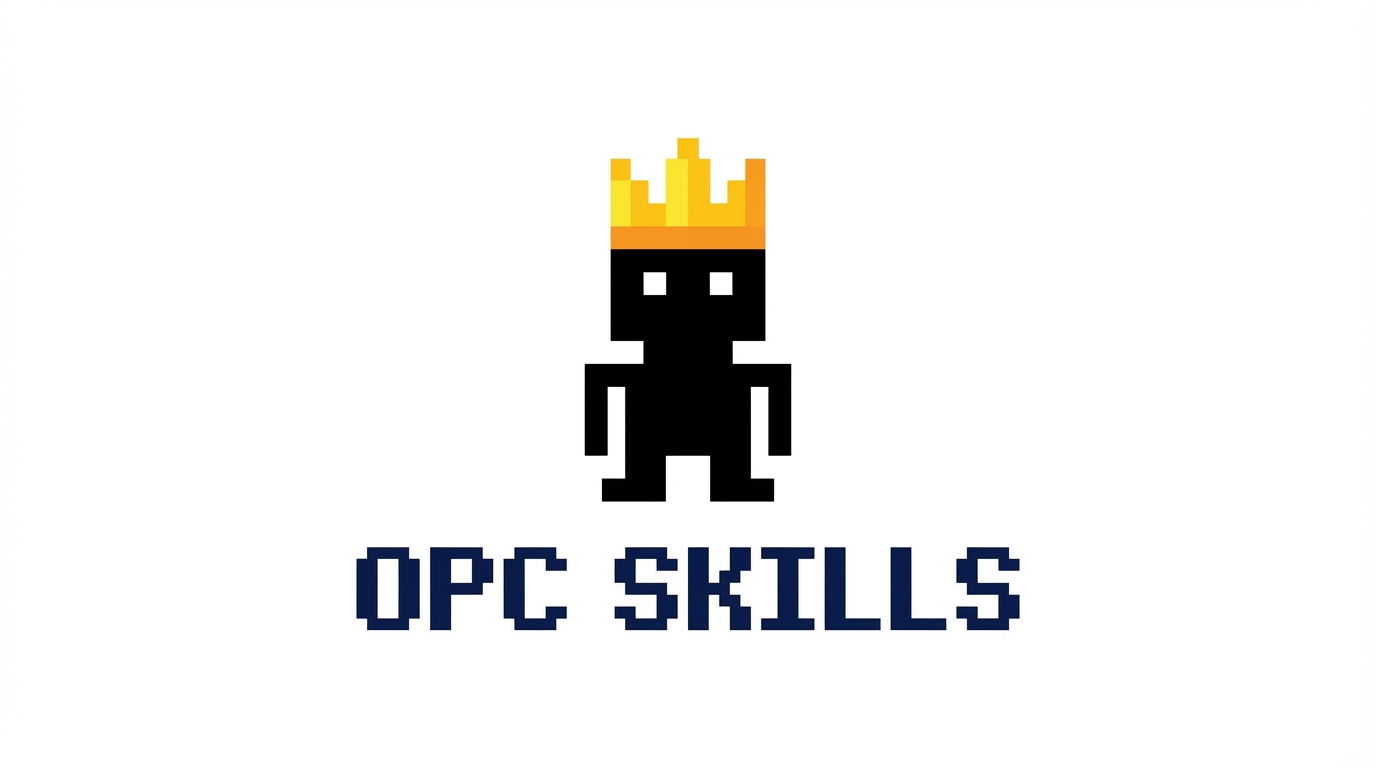
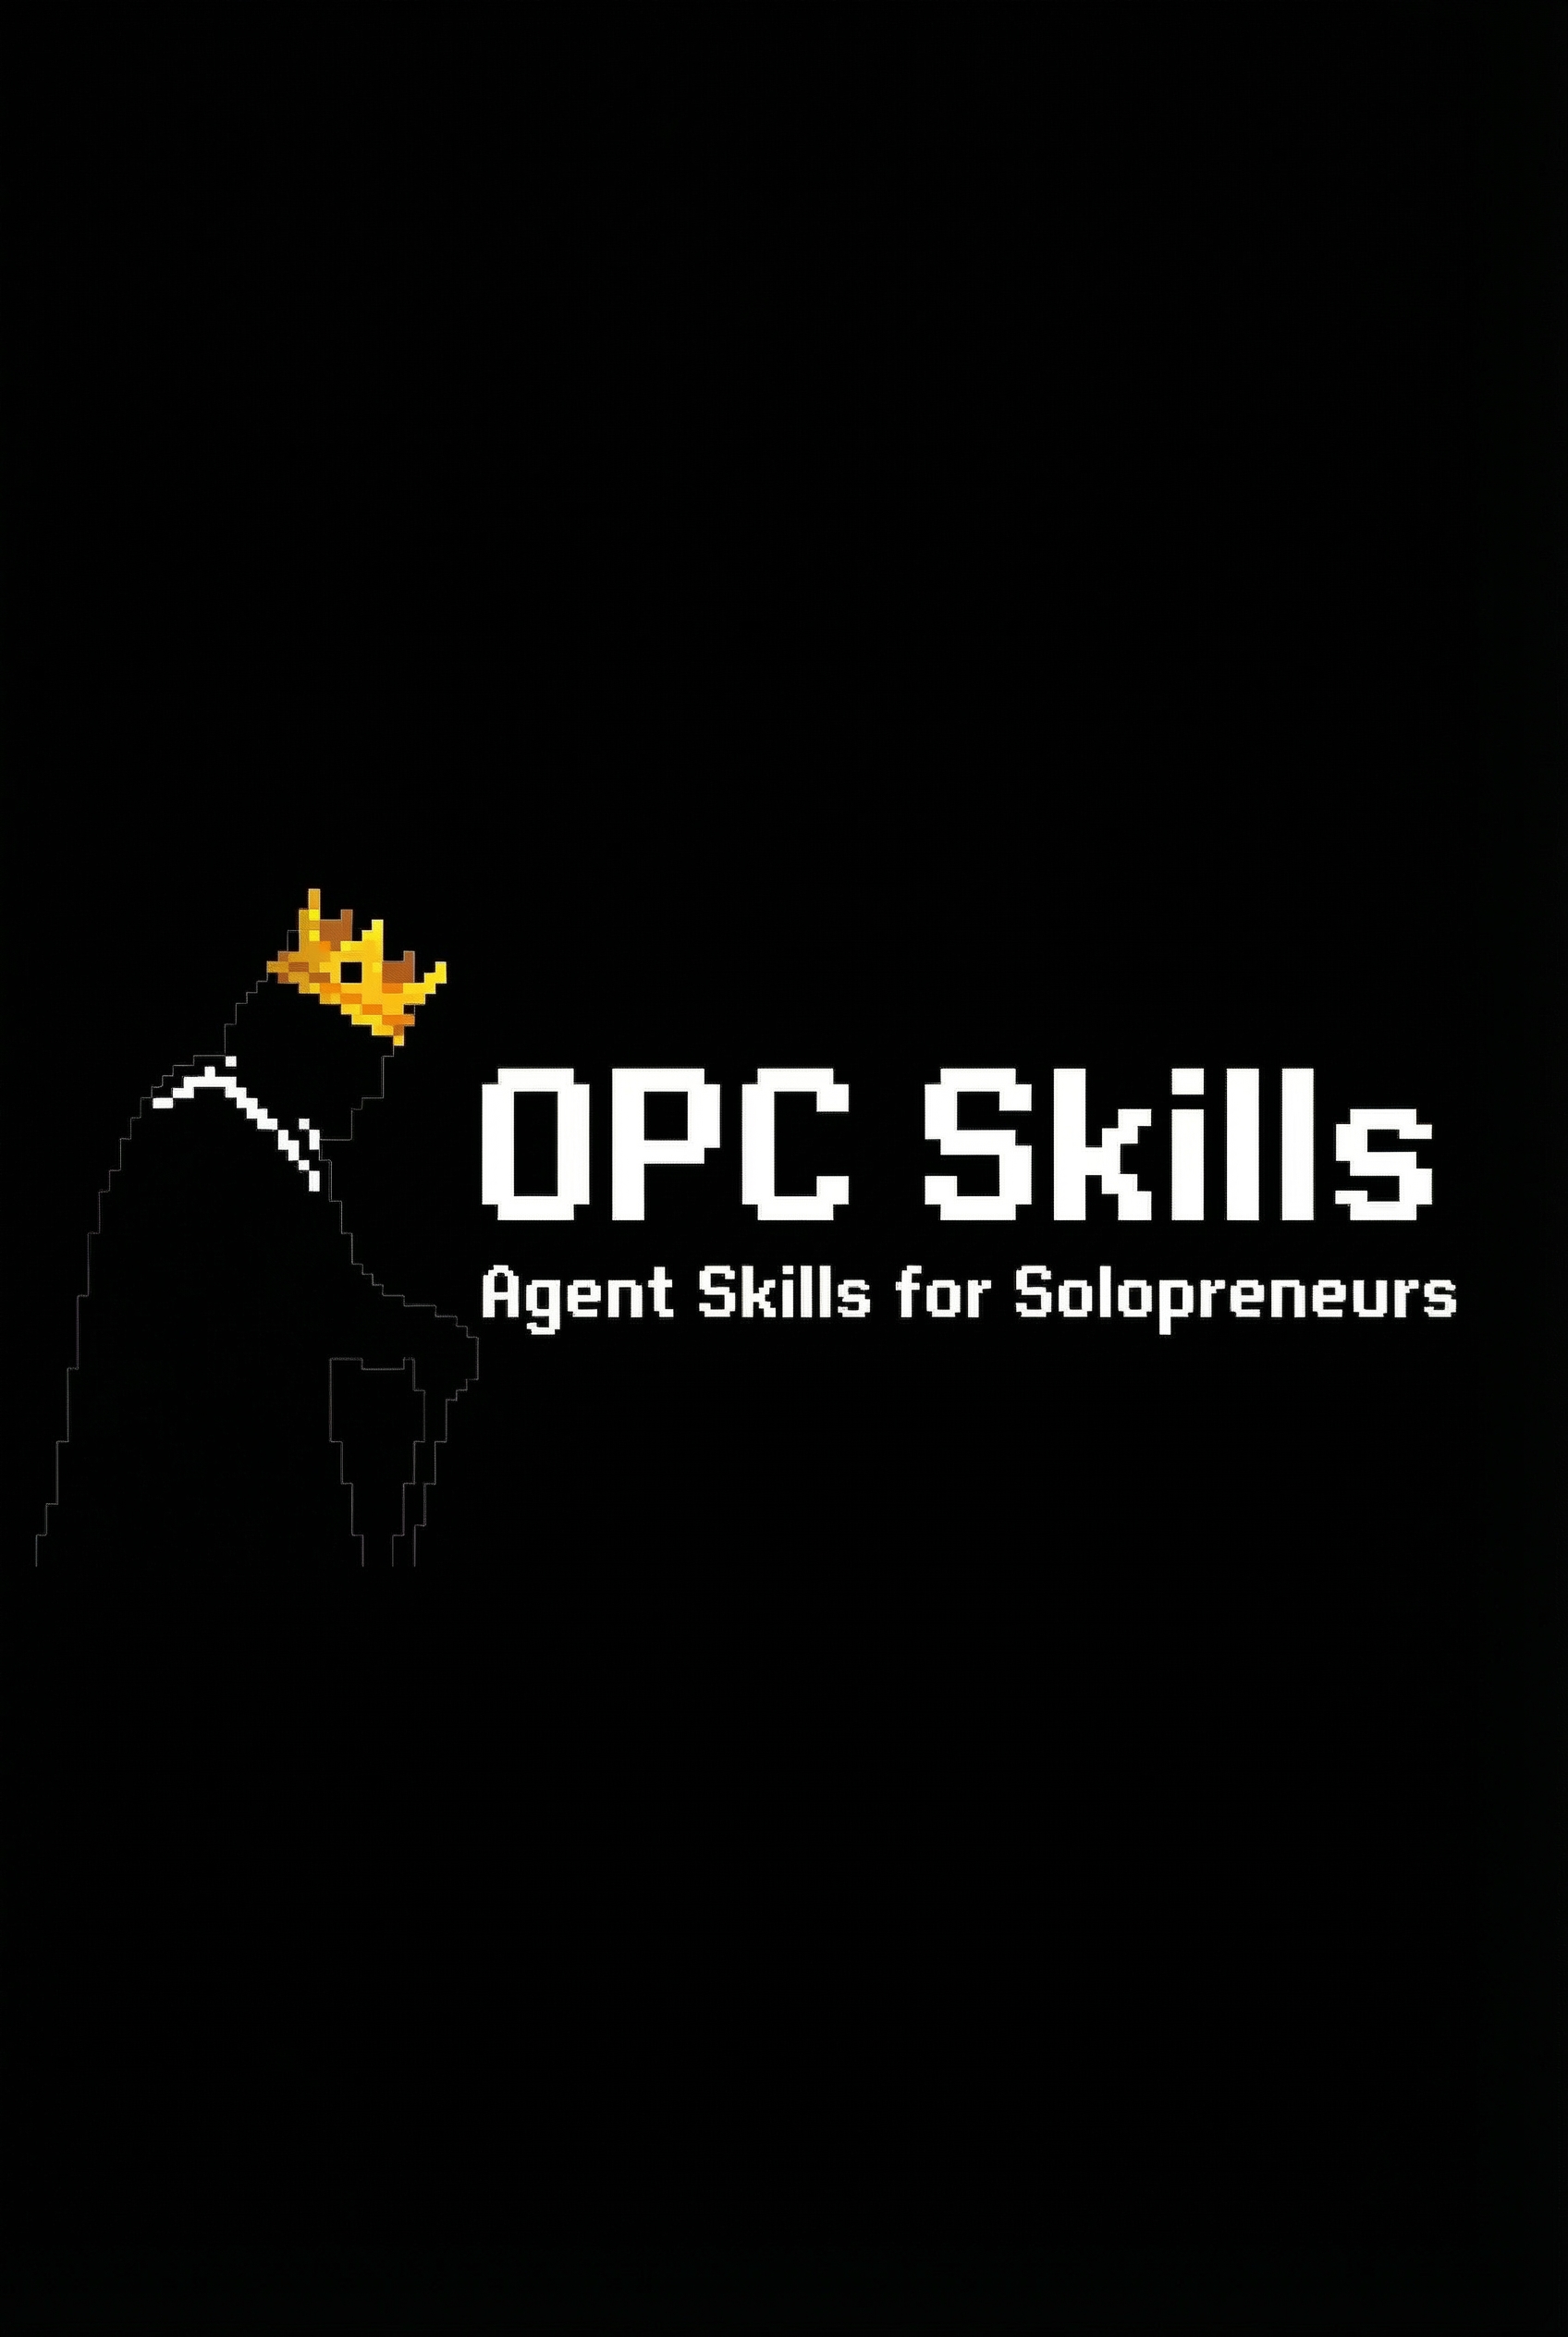
Example: OPC Skills Banner Creation
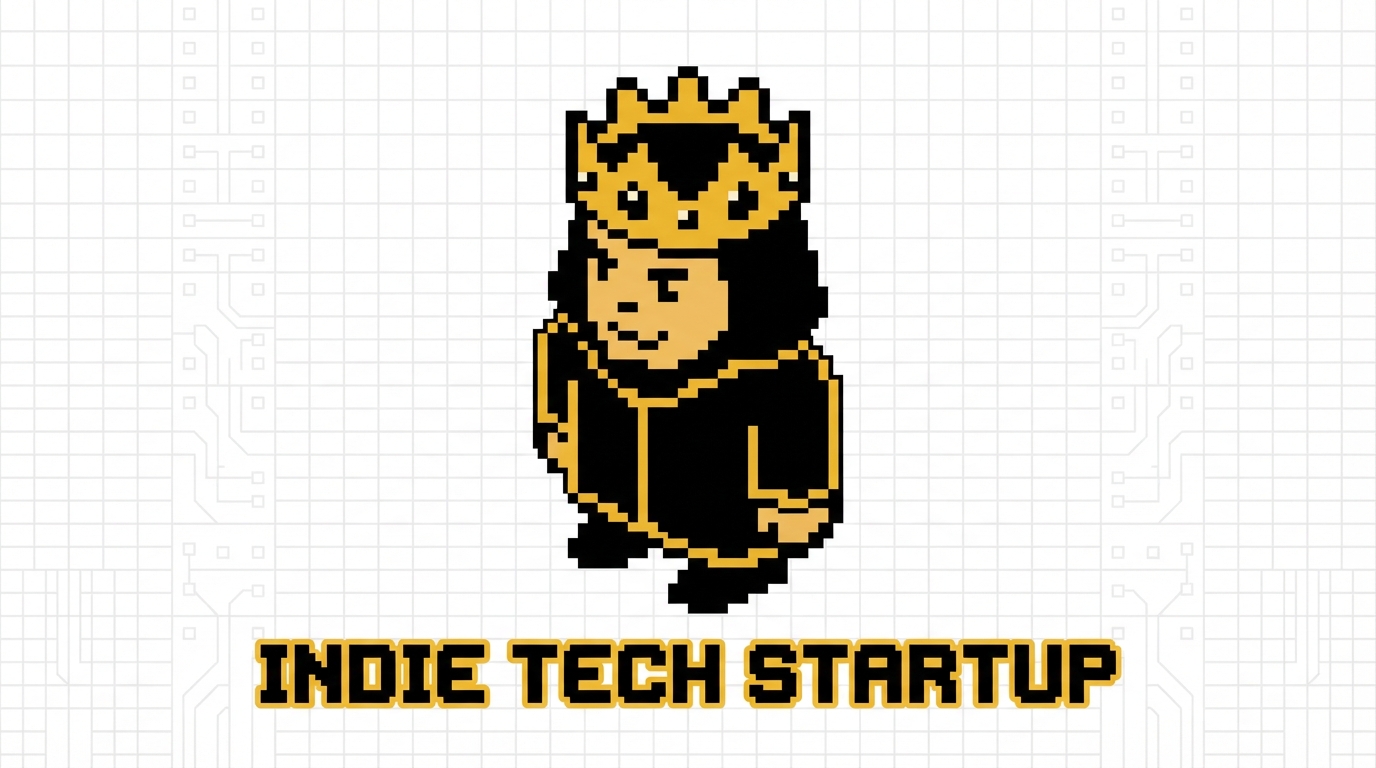
User: Create a banner for opc.dev GitHub README. Should match the existing pixel art logo style.
Agent: I'll create a banner for OPC Skills. Let me confirm the requirements:
- Target size: GitHub README banner (typically 1280x640, 2:1 ratio)
- Style: Pixel art to match existing crowned king logo
- Text: "opc.dev" and "Agent Skills"
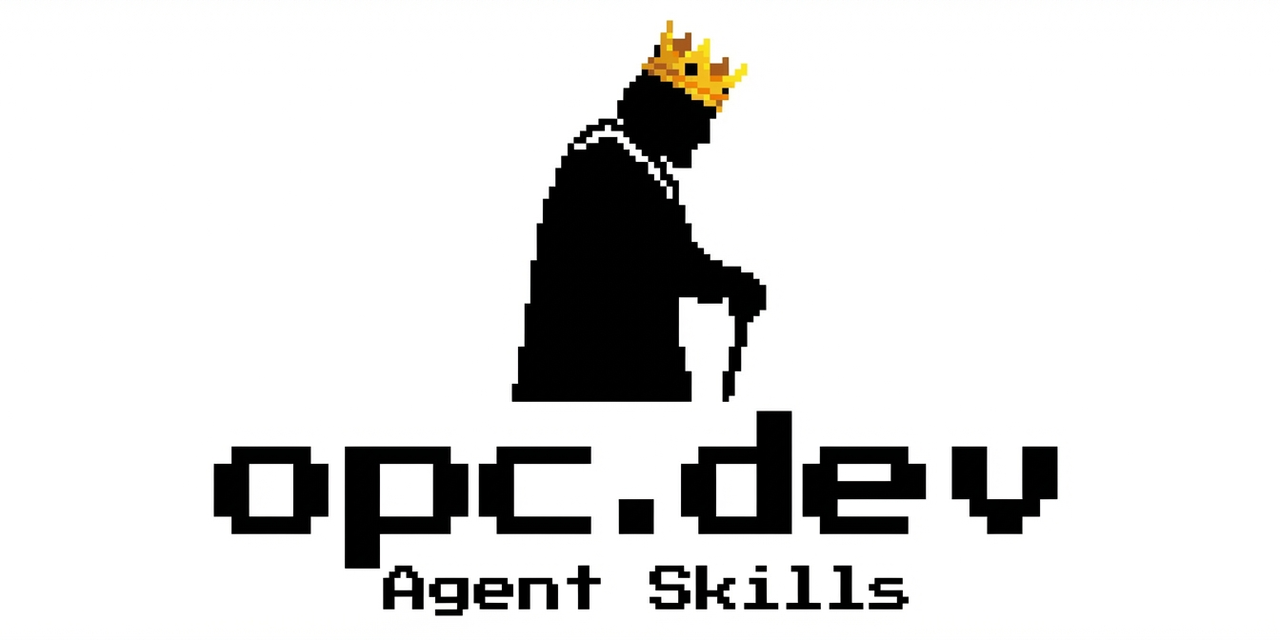
- Character: Include the pixel art crowned king from logo
User: Yes, that's correct. Please generate some options.
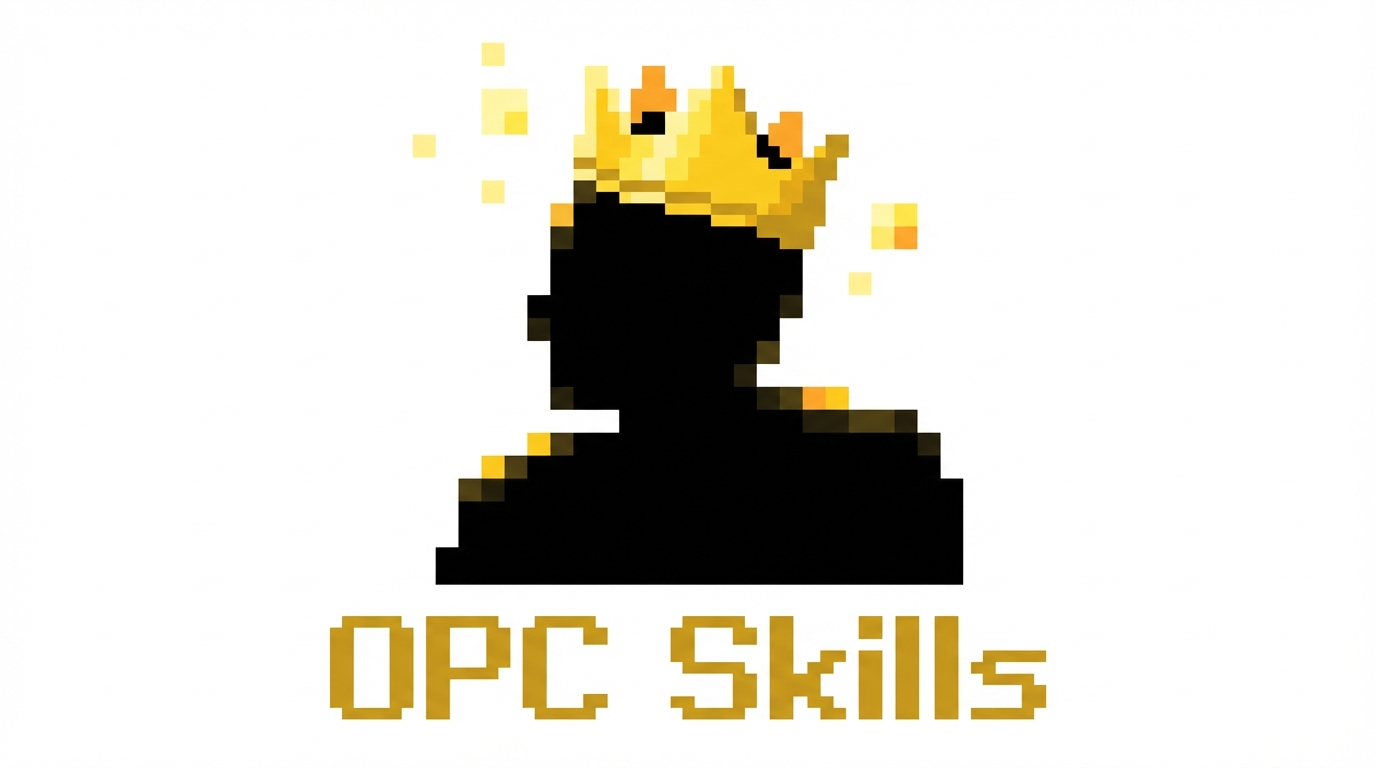
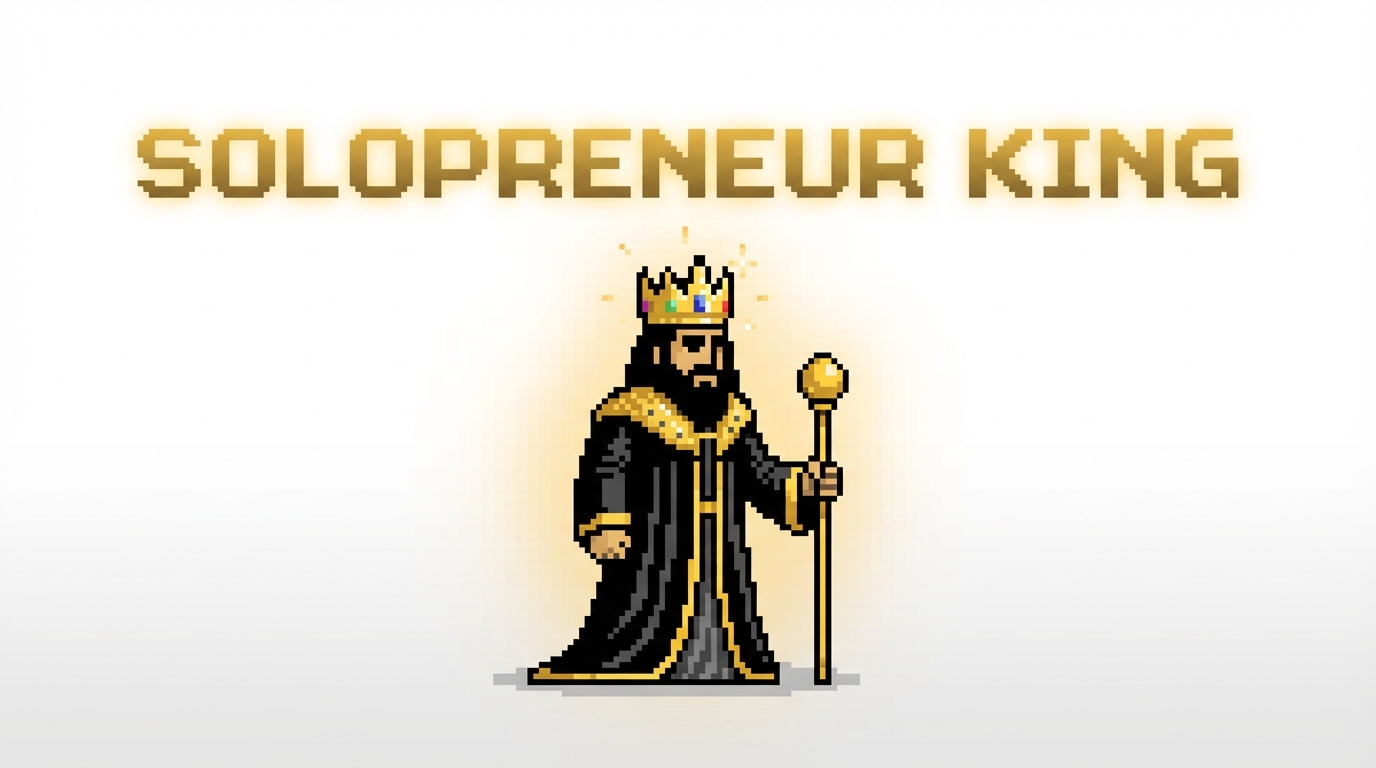
Agent: Generating banner variations at 16:9 ratio first...
Here are the generated banners:
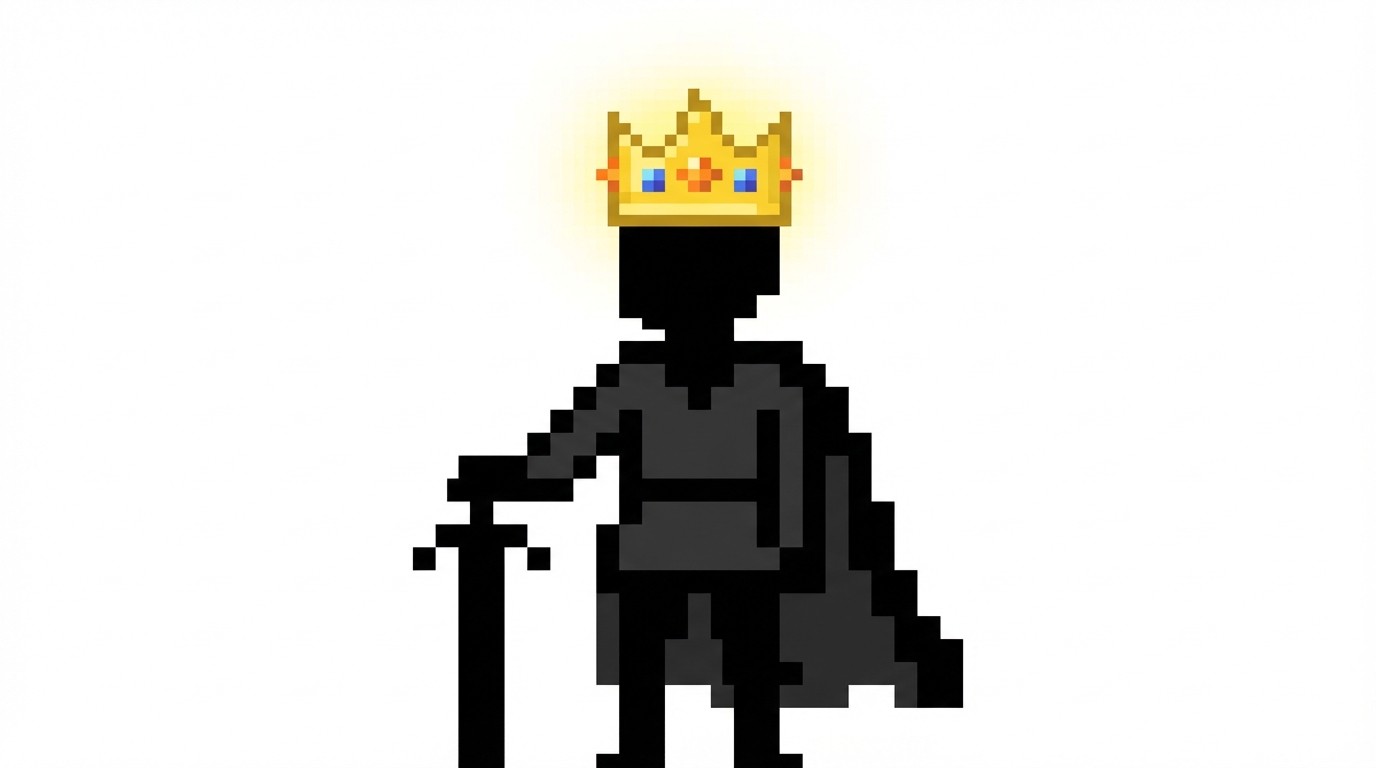
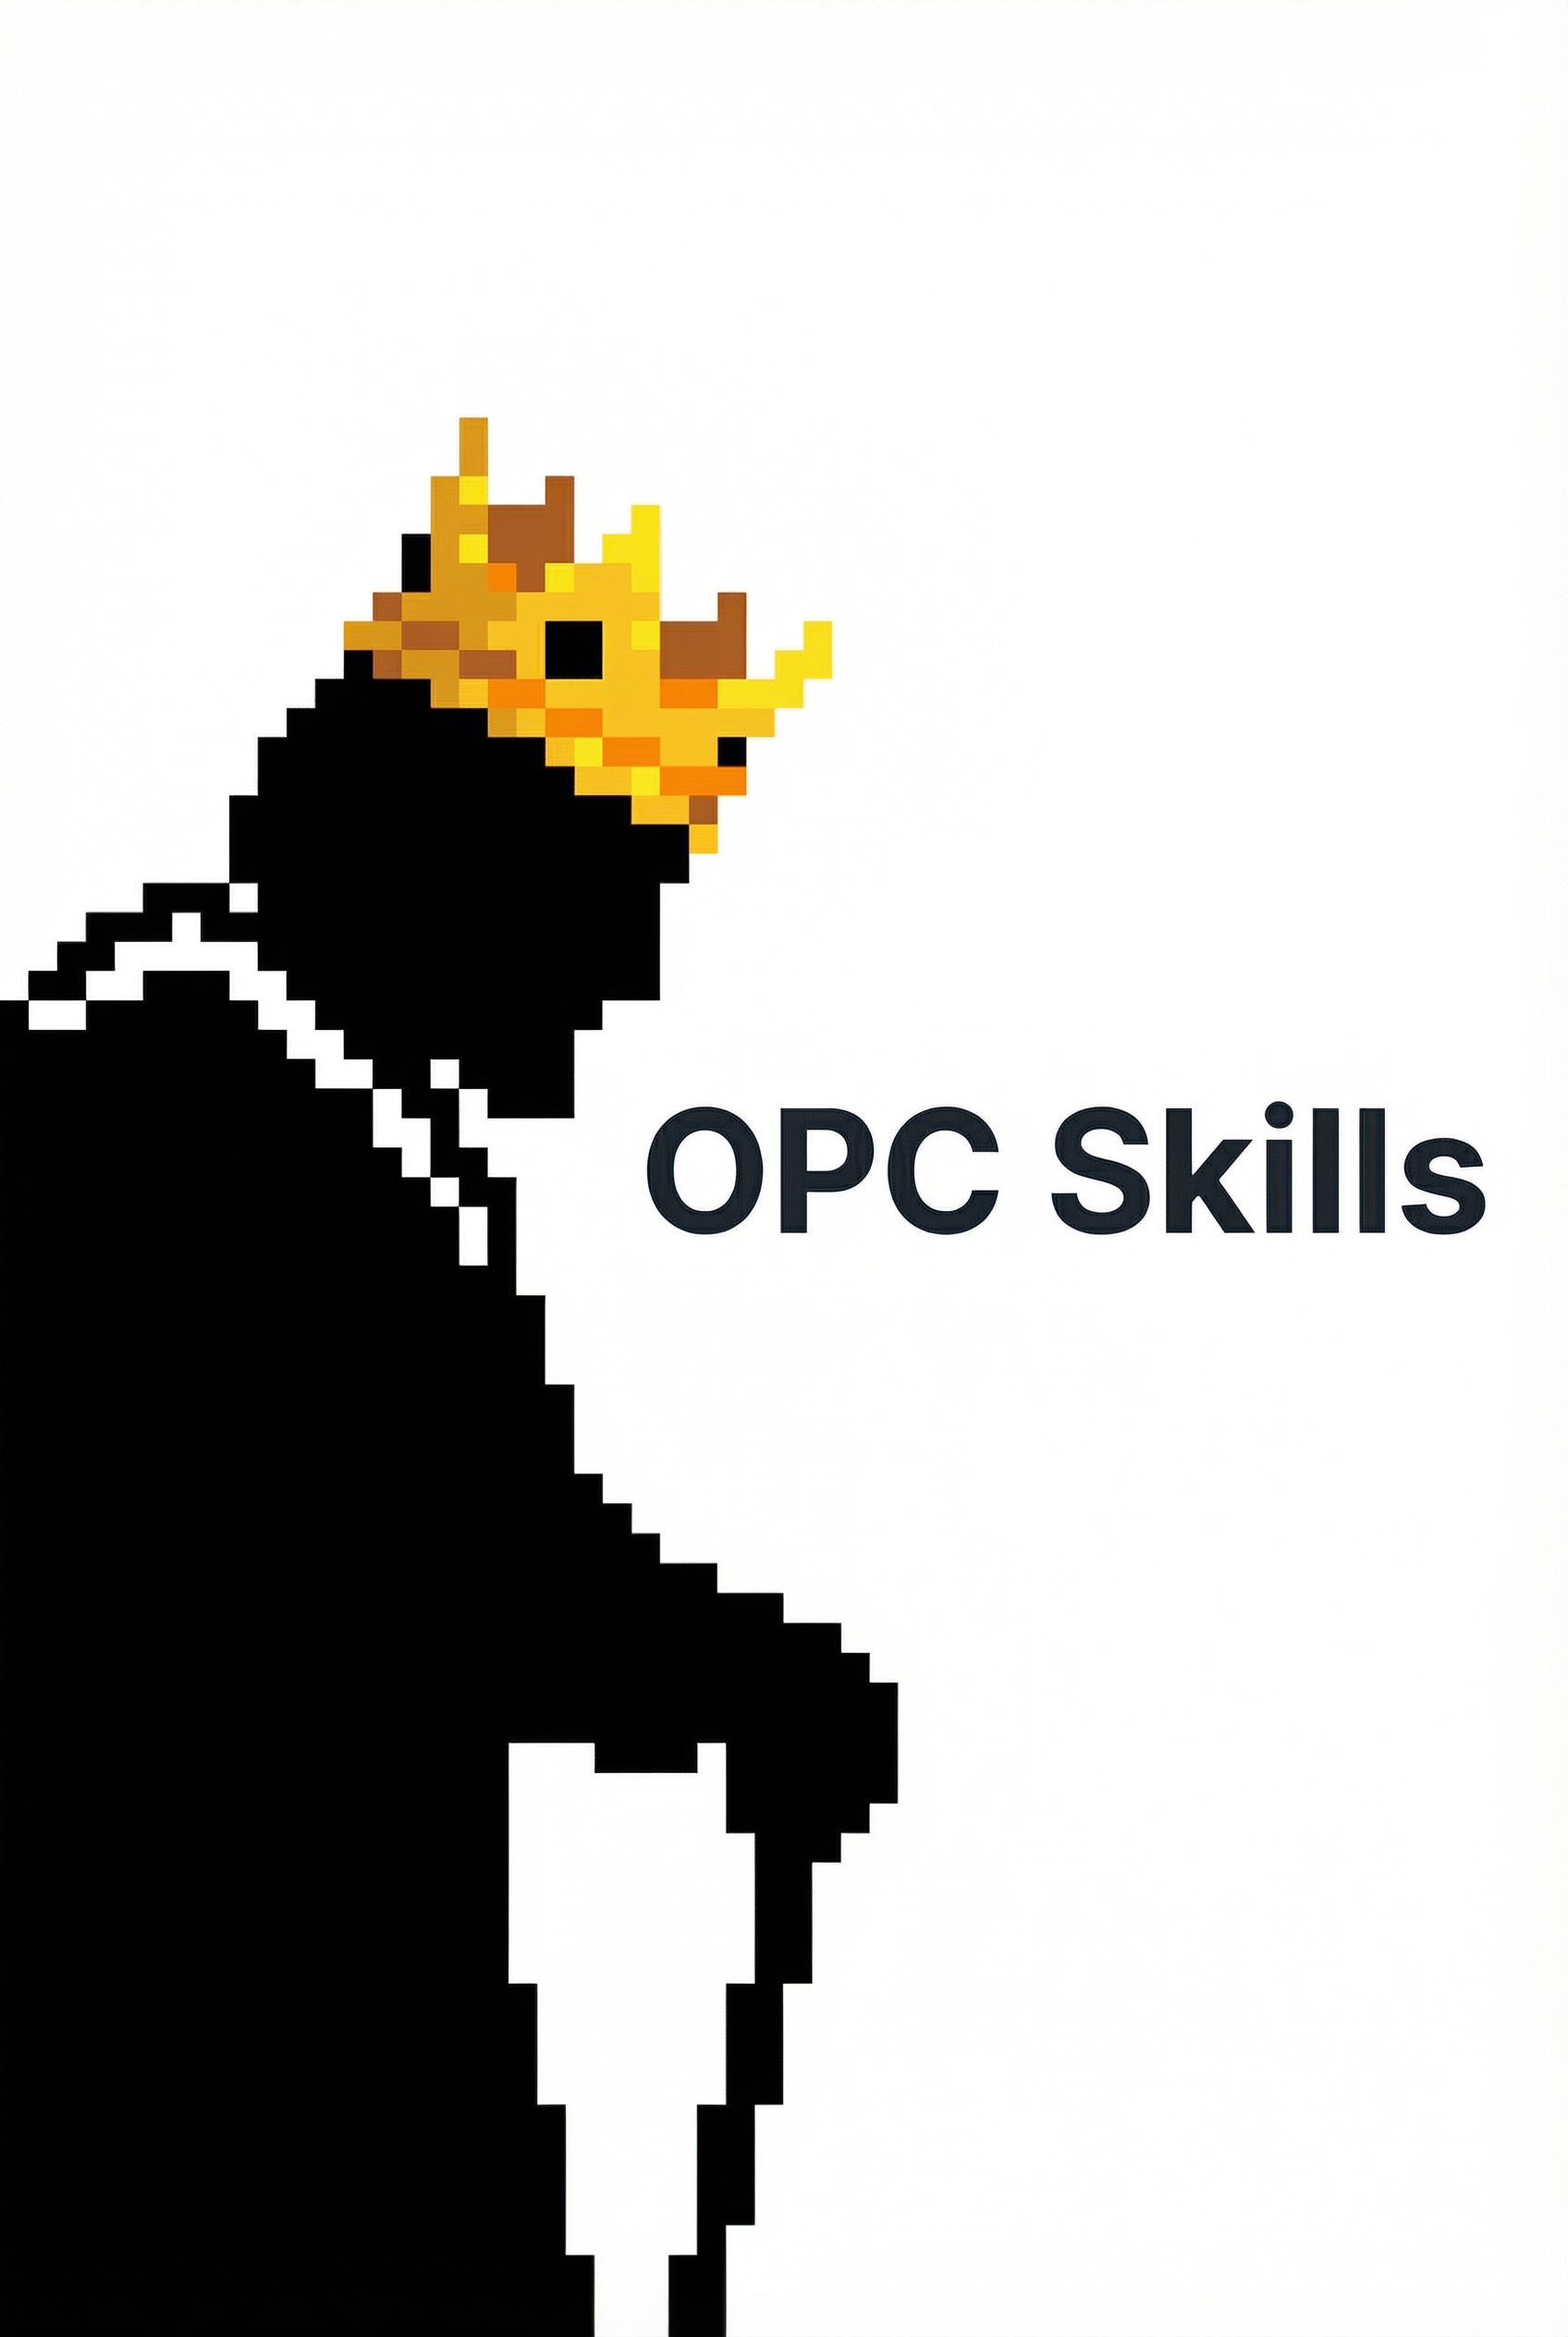
User: I like the style. But GitHub banners work best at 2:1 ratio. Can you generate some at that ratio?
Agent: Generating at 2:1 ratio for GitHub:
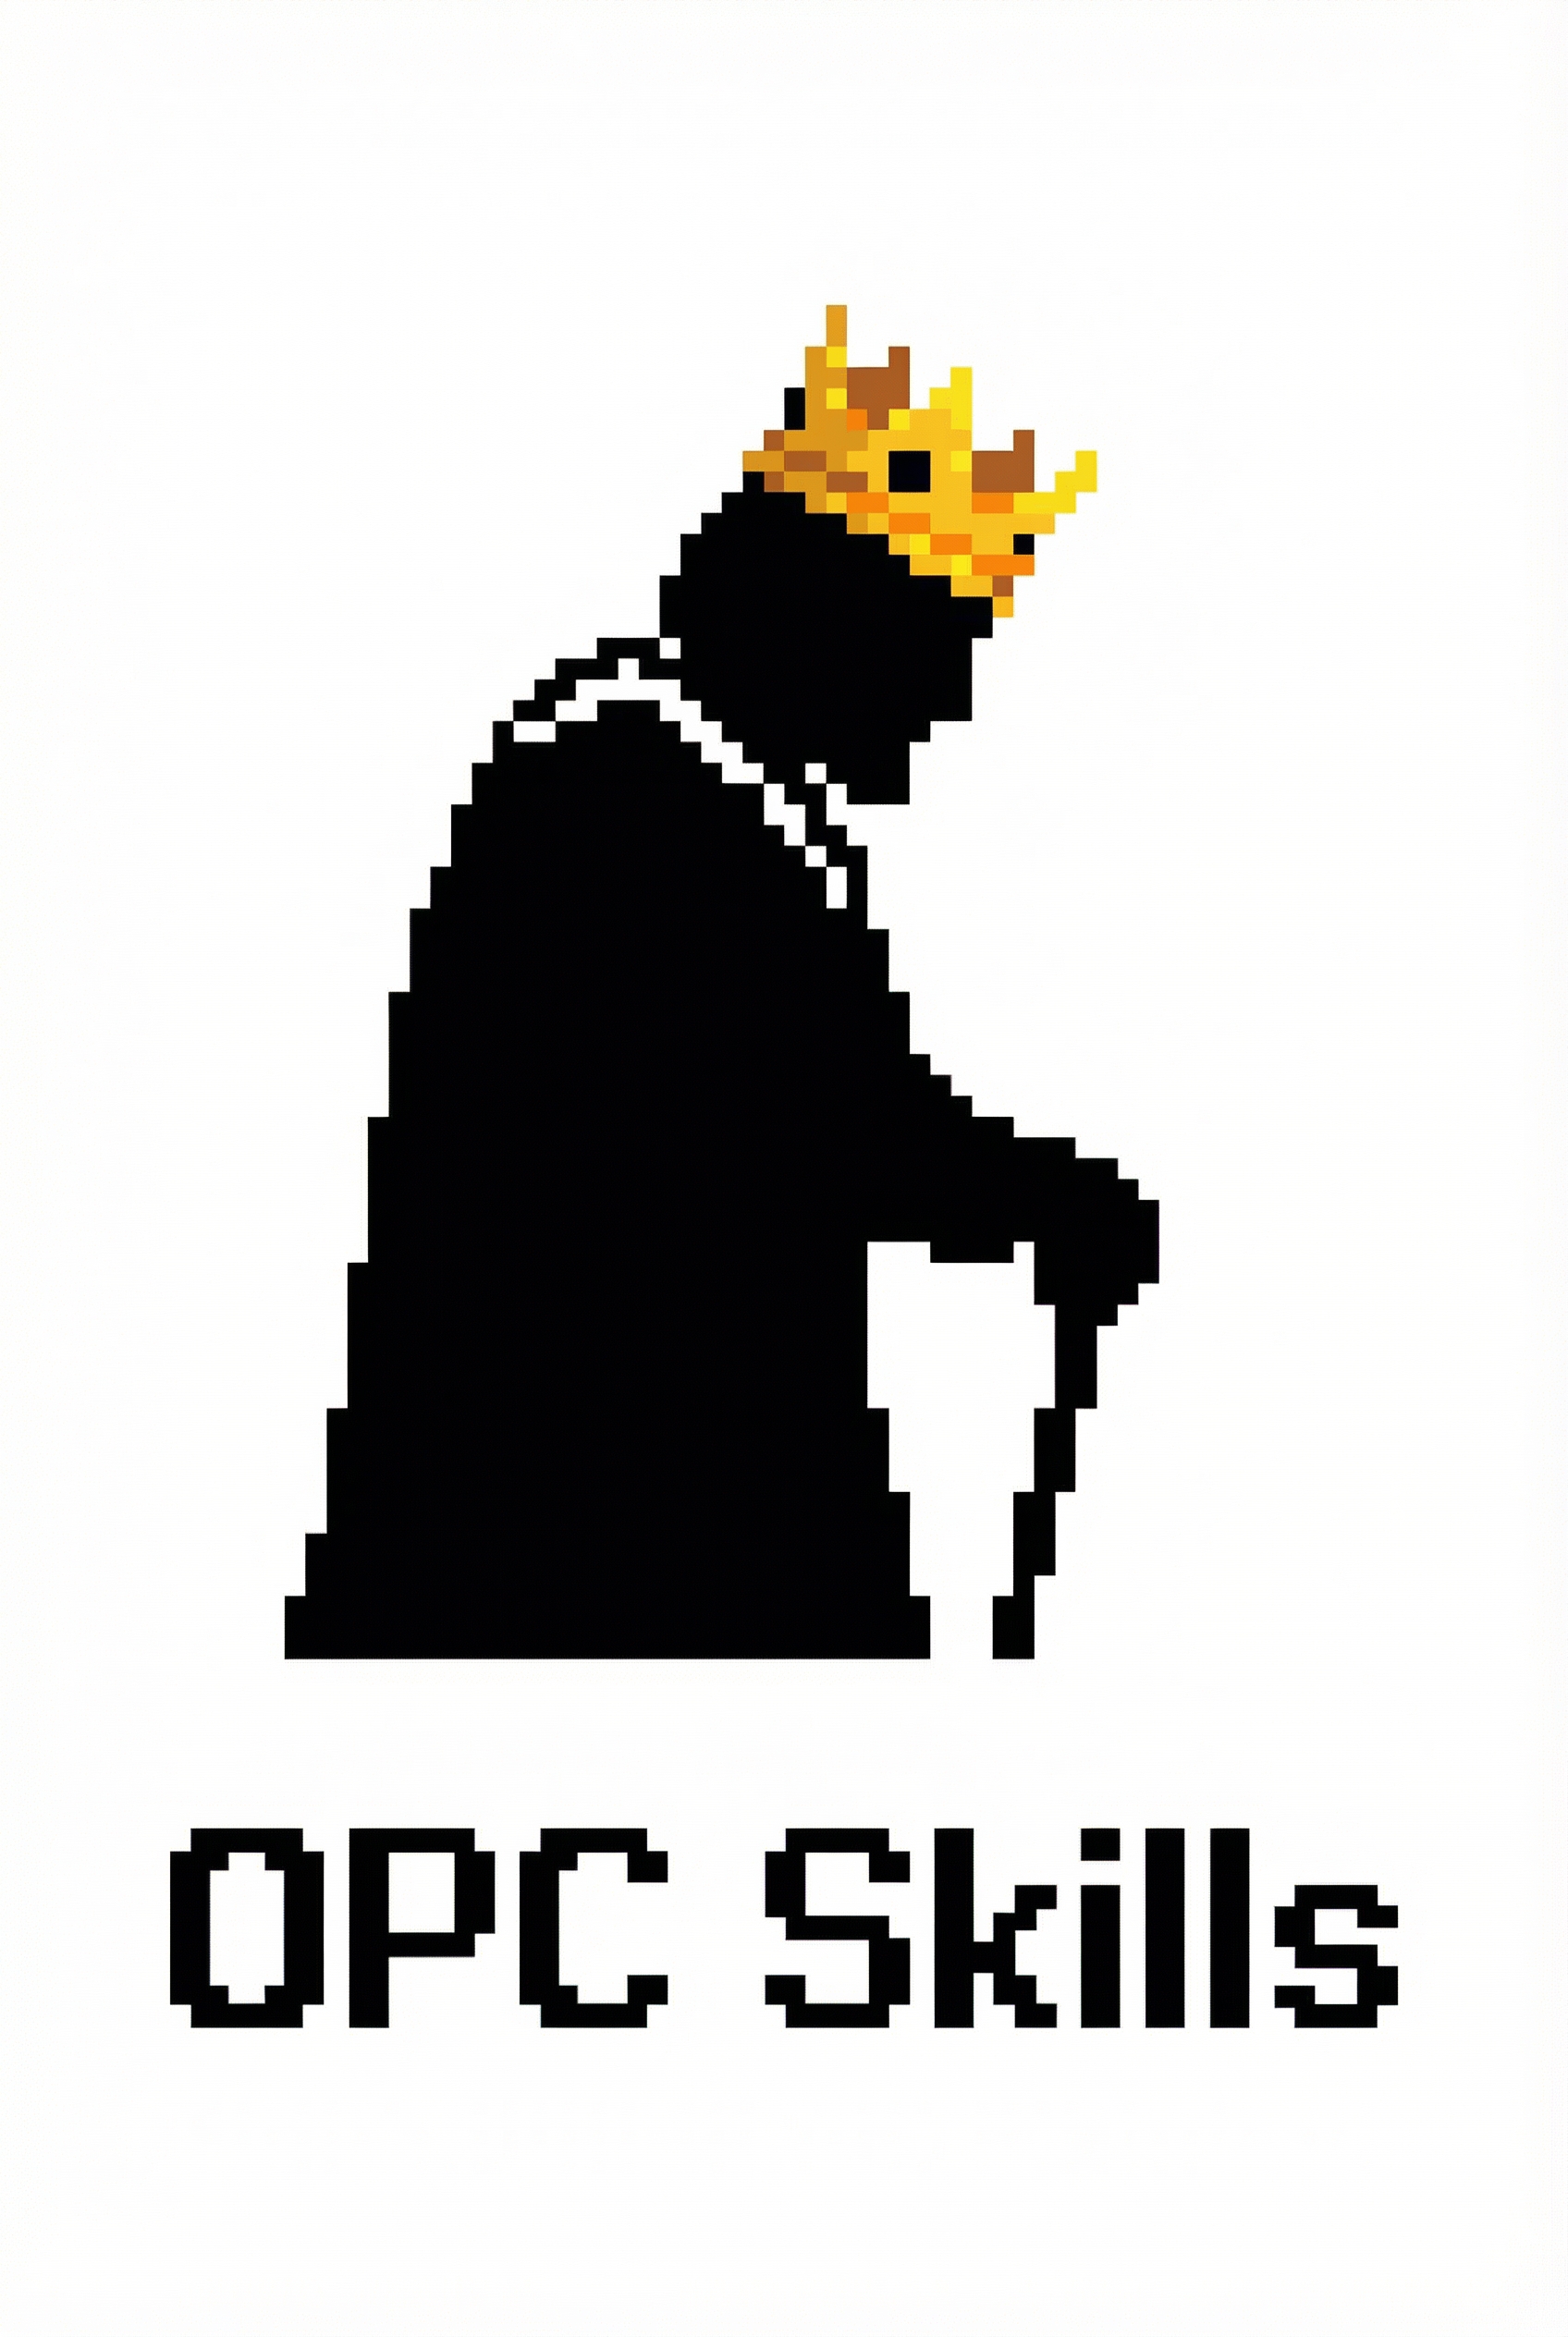
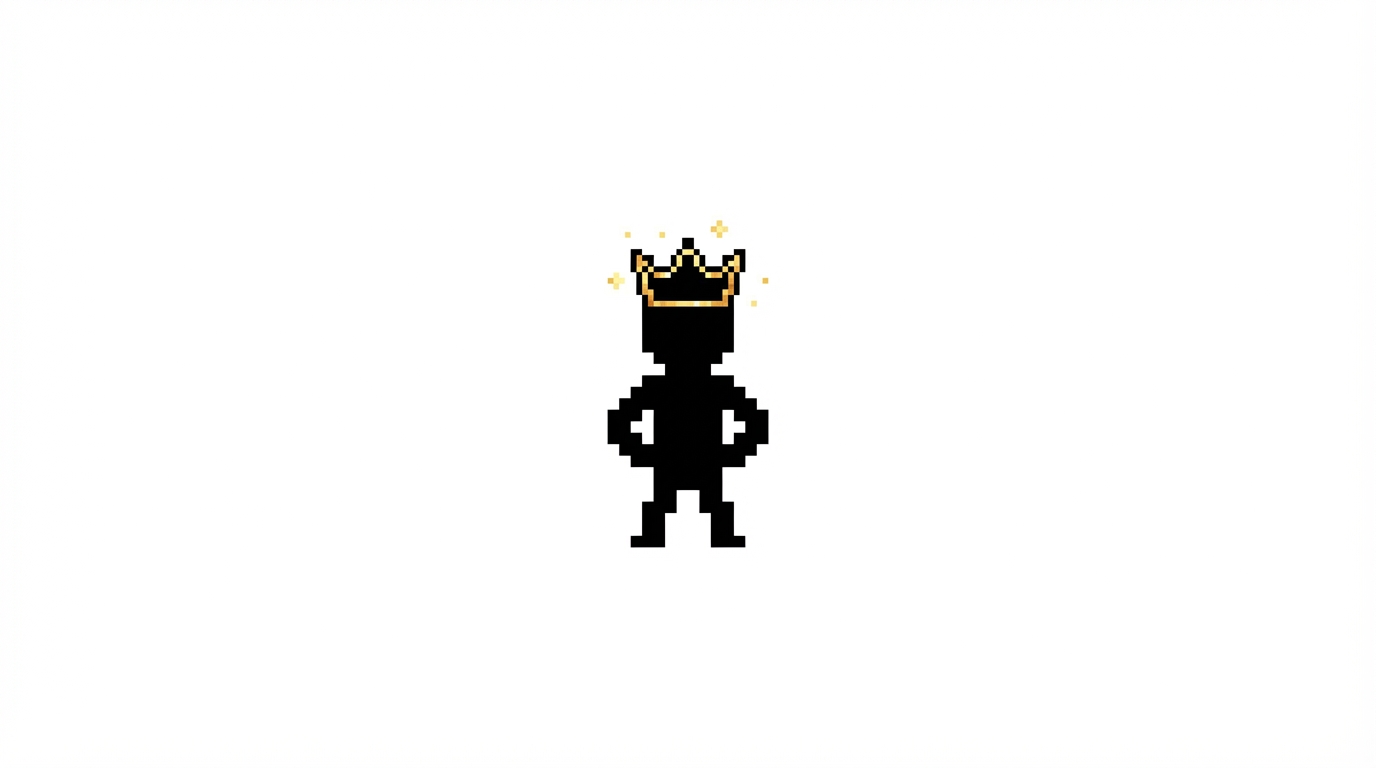
User: Perfect! Let's use the third one.
Agent: Here's the final banner:
The banner is ready to use in your README!
Banner Creator Skill
Create professional banners through AI image generation with an iterative design process.
Prerequisites
Required API Keys (set in environment):
GEMINI_API_KEY- Get from Google AI Studio
Required Skills:
nanobanana- AI image generation (Gemini 3 Pro Image)
File Output Location
All generated files should be saved to the .skill-archive directory:
.skill-archive/banner-creator/<yyyy-mm-dd-summaryname>/
Example:
.skill-archive/banner-creator/2026-01-19-opc-banner/
  banner-01.png
  banner-02.png
  ...
  banner-03-cropped.png
  preview.html
Workflow
Step 1: Discovery & Requirements
Before generating, gather requirements from user:
Ask about:
Purpose - Where will the banner be used?
- GitHub README
- Twitter/X header
- LinkedIn banner
- Website hero
- YouTube channel art
Target ratio/size - See references/formats.md:
2:1(1280x640) - GitHub README3:1(1500x500) - Twitter header16:9(1920x1080) - Website hero
Style preference:
- Match existing logo/brand?
- Pixel art / 8-bit retro
- Minimalist / flat design
- Gradient / modern
- Illustrated / artistic
Content elements:
- Brand name / project name?
- Tagline / slogan?
- Logo character to include?
Color preferences:
- Existing brand colors?
- Let AI decide?
Wait for user confirmation before proceeding!
Step 2: Generate Banner Variations
Generate 20 banner variations using the nanobanana skill:
# Generate single banner
python3 <nanobanana_skill_dir>/scripts/generate.py "{style} banner for {brand}, {description}, {text elements}" \
  --ratio 21:9 -o .skill-archive/banner-creator/<date-name>/banner-01.png

# Batch generate 20 banners
python3 <nanobanana_skill_dir>/scripts/batch_generate.py "{style} banner for {brand}, {description}, {text elements}" \
  -n 20 --ratio 21:9 -d .skill-archive/banner-creator/<date-name> -p banner
Guidelines:
- Generate at
21:9ratio (widest available), crop later to target - Use batch_generate.py for multiple variations (includes auto-delay)
- Use sequential naming:
banner-01.png,banner-02.png, etc.
Image Editing (for incorporating existing logo):
python3 <nanobanana_skill_dir>/scripts/generate.py "add {logo character} to the left side of the banner" \
  -i /path/to/existing-logo.png --ratio 21:9 -o banner-with-logo.png
Step 3: Create HTML Preview
Copy the preview template and open in browser:
cp <skill_dir>/templates/preview.html .skill-archive/banner-creator/<yyyy-mm-dd-summaryname>/preview.html
Then open in default browser:
open .skill-archive/banner-creator/<yyyy-mm-dd-summaryname>/preview.html
IMPORTANT: Update the HTML to include the correct number of banners generated.
Step 4: Iterate with User
Ask user which banners they prefer:
- "Which banners do you like? (e.g., #3, #7, #15)"
- "What do you like about them?"
- "Any changes you'd want?"
Based on feedback:
- Generate 10-20 more variations of favorite styles
- Use naming:
banner-{original}-v{n}.png(e.g.,banner-03-v1.png) - Update HTML preview
- Repeat until user selects final banner
Step 5: Crop to Target Ratio
Once user approves a banner, crop to target size:
python3 <skill_dir>/scripts/crop_banner.py {input.png} {output.png} --ratio 2:1 --width 1280
Common targets:
- GitHub README:
--ratio 2:1 --width 1280→ 1280x640 - Twitter header:
--ratio 3:1 --width 1500→ 1500x500 - Website hero:
--ratio 16:9 --width 1920→ 1920x1080
Step 6: Deliver Final Assets
Present final deliverables:
## Final Banner Assets

| File | Description | Size |
|------|-------------|------|
| banner-03.png | Original (21:9) | 2016x864 |
| banner-03-cropped.png | GitHub README (2:1) | 1280x640 |

All files saved to: `.skill-archive/banner-creator/<yyyy-mm-dd-summaryname>/`
Copy final banner to user's desired location.
Quick Reference
Common Prompt Patterns
With Text:
Wide banner for {brand}, {style} style, featuring "{text}" prominently displayed, {colors}, {scene/elements}
With Character:
Wide banner featuring {character description}, {style} style, {scene}, text "{brand name}" on {position}, {colors}
Abstract/Gradient:
Abstract {style} banner, {colors} gradient, geometric patterns, modern tech feel, text "{brand}" centered
Scene-based:
{Style} illustration banner, {scene description}, {character} in {action}, "{brand}" text overlay, {colors}
Supported Aspect Ratios
Generate at widest ratio, then crop:
21:9- Ultra-wide (recommended for generation)16:9- Wide3:2- Standard wide
References
- references/formats.md - Common banner sizes by platform
- examples/opc-banner-creation.md - Full example conversation